

Appearance
Setting Up Tux Rentals
A walkthrough for a boutique taking on formalwear hire in BridalOp for the first time. About half an hour, plus however long your supplier's catalogue takes to enter.
The end result: a wedding party you can build in one screen, a link the couple sends to everyone renting, and a board that tells you — while there is still time — when somebody hasn't been measured.
Before you start
You'll need:
- Your formalwear supplier's details, including how far ahead they need orders
- Their catalogue, at least the pieces you actually put on people
- Their size chart, if you have it. Worth doing — coat length breaks differ between suppliers
- Your deposit, waiver and late-fee figures
1. Switch the module on
Settings → Modules → Suit & Tux Rentals.
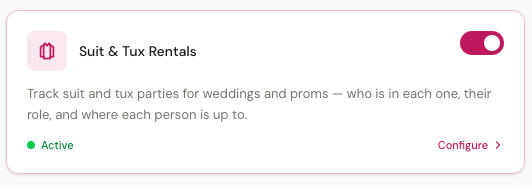
Switching it on gives you, straight away:
- Tux Rentals in the main menu
- Settings → Tux Rentals
- Three appointment types — Tux Measuring, Tux Fit Check, Tux Pickup
- A Tux Rental Agreement contract template
- A Tux Rentals section on every product page
- A Tux Rentals report
Renaming any of it is safe
Those appointment types and the agreement are created once. Rename them, edit the agreement, delete what you don't want — switching the module off and on again won't undo your changes or make duplicates.
Read the agreement before you use it
The rental agreement is a starting point covering the three things that actually cause arguments — late returns, missing pieces, and the damage waiver. Have your own solicitor read it before you put it in front of a customer.
2. Add your supplier
Vendors → New Vendor.
Add the formalwear house you order from. While you're there, enter their lead times — that's what BridalOp uses to work out each party's order-by date, instead of your general default.
If they quote a range like "6–8 weeks", enter both. BridalOp plans against the long end, because planning against the short end is how a party misses a deadline it was told it had made.
3. Enter the pieces you rent
Products → New Product, one per piece you actually put on somebody.
The section that matters is Tux Rentals, which only appears now the module is on:
| Field | What it does |
|---|---|
| Rental piece type | Coat, Trousers, Shirt, Vest, Tie, Shoes… |
| Fulfilment | Leave on Ordered from the vendor |
| Rental price | What you charge to hire it |
| Replacement price | What your supplier bills you when it never comes back |
The piece type is what makes it rentable
A product with no Rental piece type does not appear anywhere in this module. It's also what puts a product in the right slot: the Coat row of a look only offers products typed as Coat, so a gown can never end up on a groomsman.
Replacement price is worth getting right now. It's what the return checklist charges for a missing vest, and it's snapshotted onto each party when it's ordered, so changing it next season won't rewrite what somebody was already told.
You need at least a coat, trousers, a shirt, a vest and a tie to build a usable look. Shoes, pocket squares and studs when you're ready.
4. Enter their size chart
Vendors → your supplier → Size Charts → New.
Switch Chart for to Suits & tuxes. The columns change to chest, overarm, neck, sleeve, waist, inseam, height and coat length.
Type the ranges however your supplier prints them — 40-42, up to 30, 52+ all work. You're copying a table, not normalising one.
You can skip this
Without a chart, BridalOp falls back to the standard trade derivations — overarm minus seven, height for the length letter — and tells you that's what it did. With one, the supplier's own rules win, which is what you want for coat length in particular.
5. Set your defaults
Settings → Tux Rentals. Full reference at Tux Rental Settings.
The ones to actually think about:
- Return window — one day after the event, then moved to a day you're open
- Deposit per person
- Damage waiver price, and whether it's pre-ticked
- Late fee, grace and cap — leave the cap in
- Group promo, if you run "groom goes free with five paid"
Check Your open days on that page matches reality. Pickup and return dates are built from it.
6. Build your first party
Tux Rentals → New party.
Give it a name, the event type, the event date, and the customer if you have one. Everything else can wait.
Add the people
Add everyone, with a role. A name alone is fine — you can add contact details as they come in.
Phone or email creates a customer record
That's deliberate. Two years later that groomsman is the one getting married, and his measurements are already on file. Someone with only a name stays on the party without cluttering your customer list.
Build the look
In the Looks section, give it a name — "Groomsmen — Black Notch" — and a package price. It starts with the usual five pieces; add or remove as needed, then pick the product and colour for each.
Assign it to each person from the dropdown on their row. That generates their garments.
Measure people
Measure on anyone. Fill in what you have.
Use the Boys field set for a ring bearer — they run an entirely different size scale.
Check the sizes
Sizes on anyone measured. BridalOp suggests each piece and shows how it got there. Accept it, or type your own and say why.
That reason matters more than it looks. When a coat turns up wrong, the question is always whether the measurement, the suggestion or the order was at fault — and this is what answers it.
7. Send the party link
On the party page, Copy link under Share with the party.
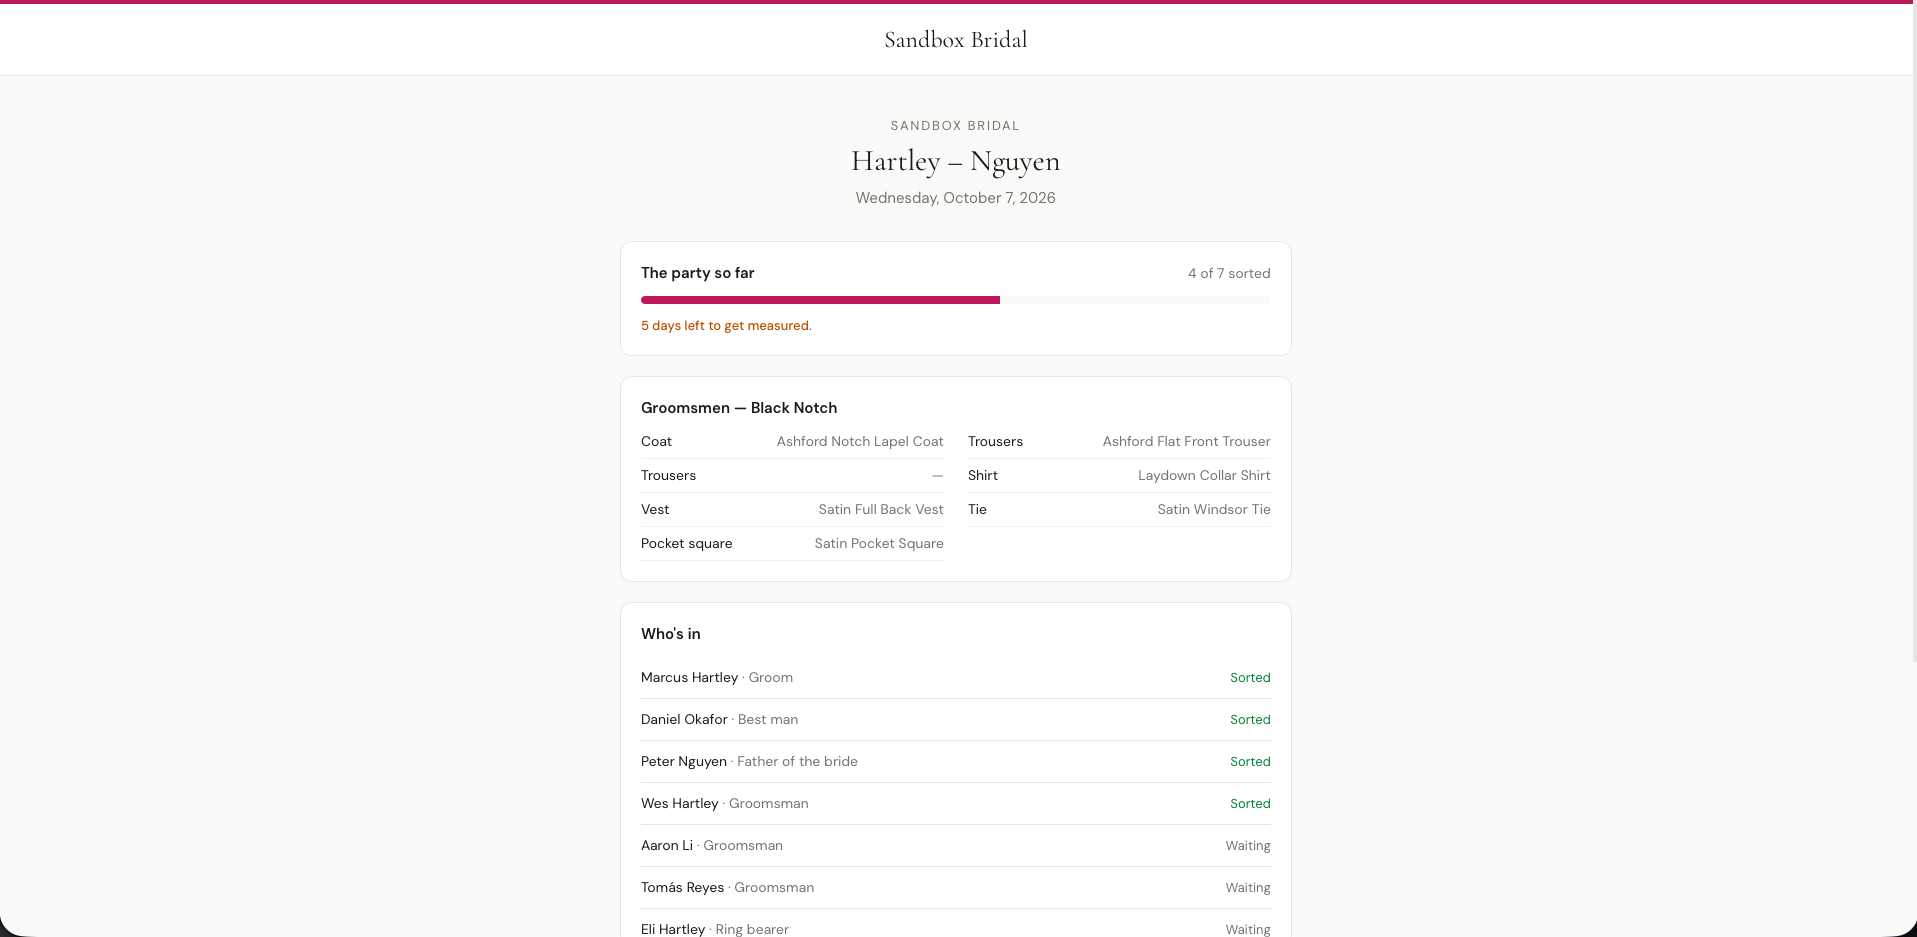
Send it to the couple; they send it to everyone. Each person picks their name, adds their details and puts their measurements in. Your board fills up without a phone call.
What the link shows
It's designed to be forwarded, so the shared page shows only the look, the date, and who's done what. Measurements, contact details and money live behind each person's own page.
Anything someone enters themselves is flagged as self-reported on your side — those are the ones worth checking before you order.
8. Set up the one automation worth having
Settings → Automations → New Automation.
Trigger: Rental party not fully measured. Set it to fire 7 days before the order deadline.
Point it at whatever you'll actually notice — an email to yourself, a text to the consultant who owns the party.
This is the module in one automation. Everything else is convenience; this is the one that stops an order being missed.
9. Watch the board
Tux Rentals in the main menu, every morning.
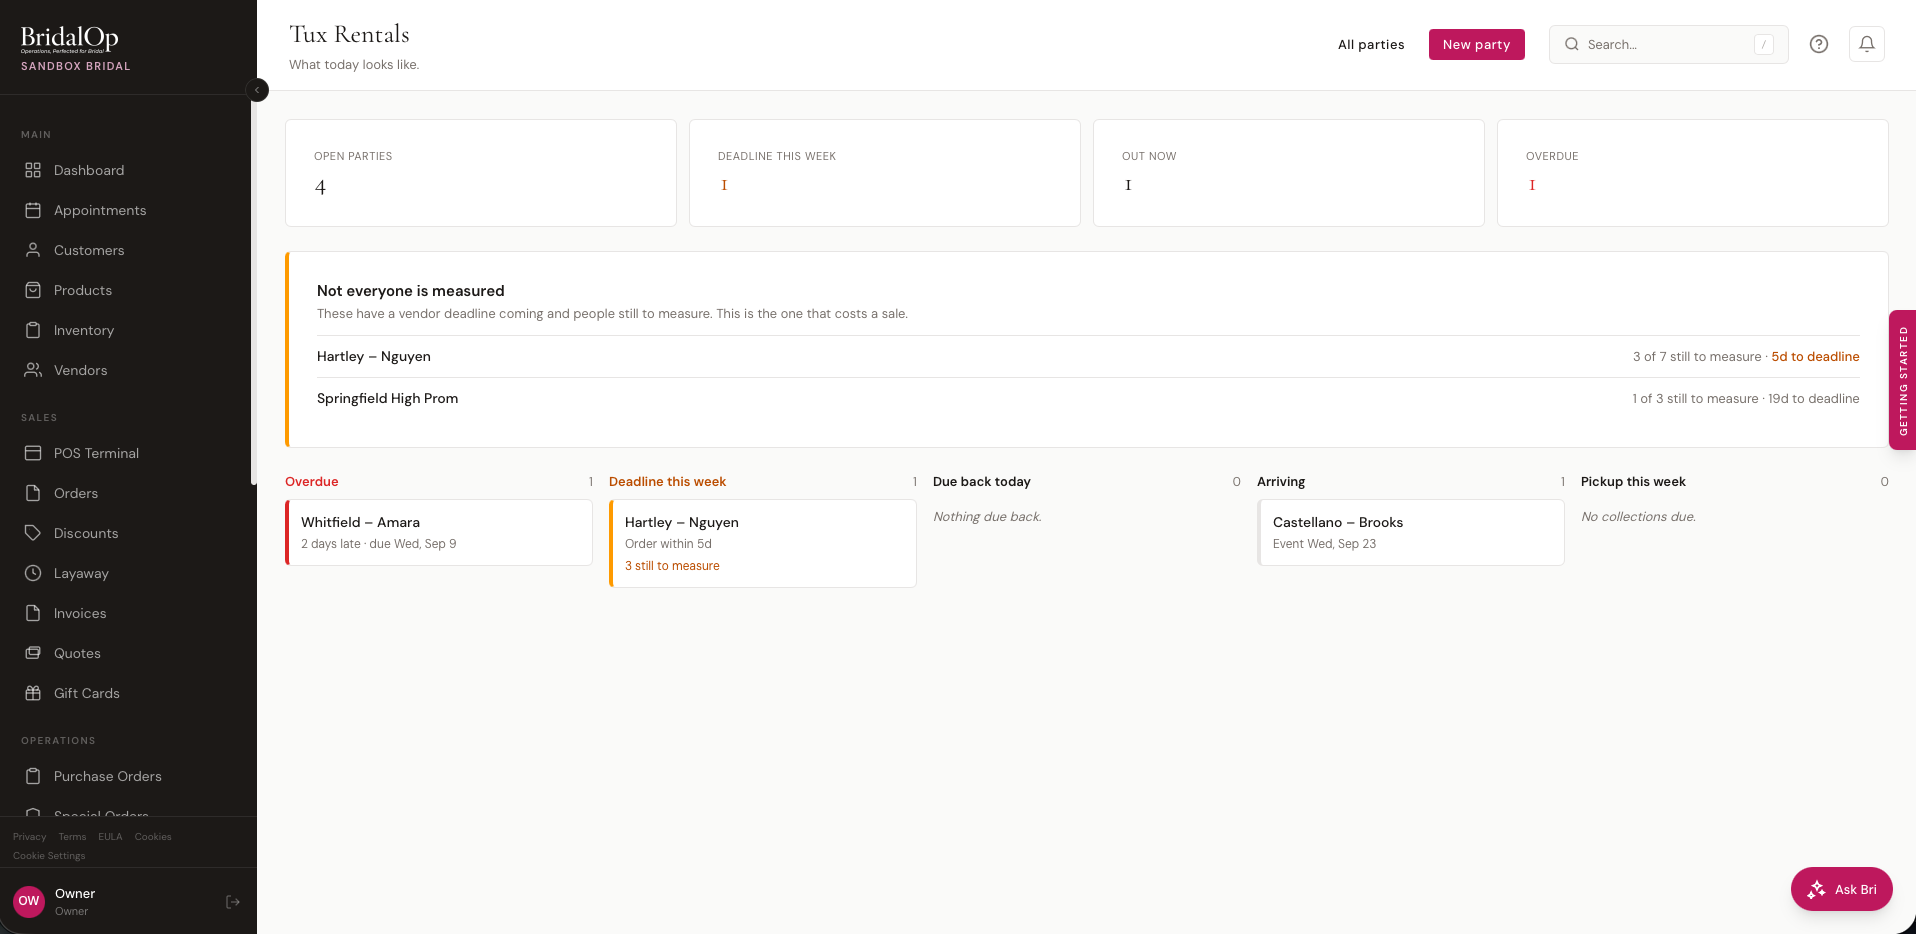
Top panel first: anyone with a deadline coming and people still to measure. Then the columns — what's overdue, what's arriving, who's collecting this week.
Running a party through
Once it's set up, a party goes:
- Build it — add the people, build the look, assign it
- Send the link — they fill in their own details
- Measure whoever comes in, and chase whoever doesn't
- Check the sizes, then mark the party Ordered and send it to your supplier
- Arrived when the boxes land — run the fit checks
- Out at collection
- Process return on each person as they come back
Somebody stays open until everything of his is back. One missing tie keeps him on your list, which is the point.
See also
- Tux Rentals — the full feature reference
- Tux Rental Settings — every setting explained
- Automations — all eleven rental triggers