

Appearance
General Settings
Configure your boutique's core information, branding, business hours, notifications, and more from Settings > General. This is the first place to set up when getting started with BridalOp.
Store Information
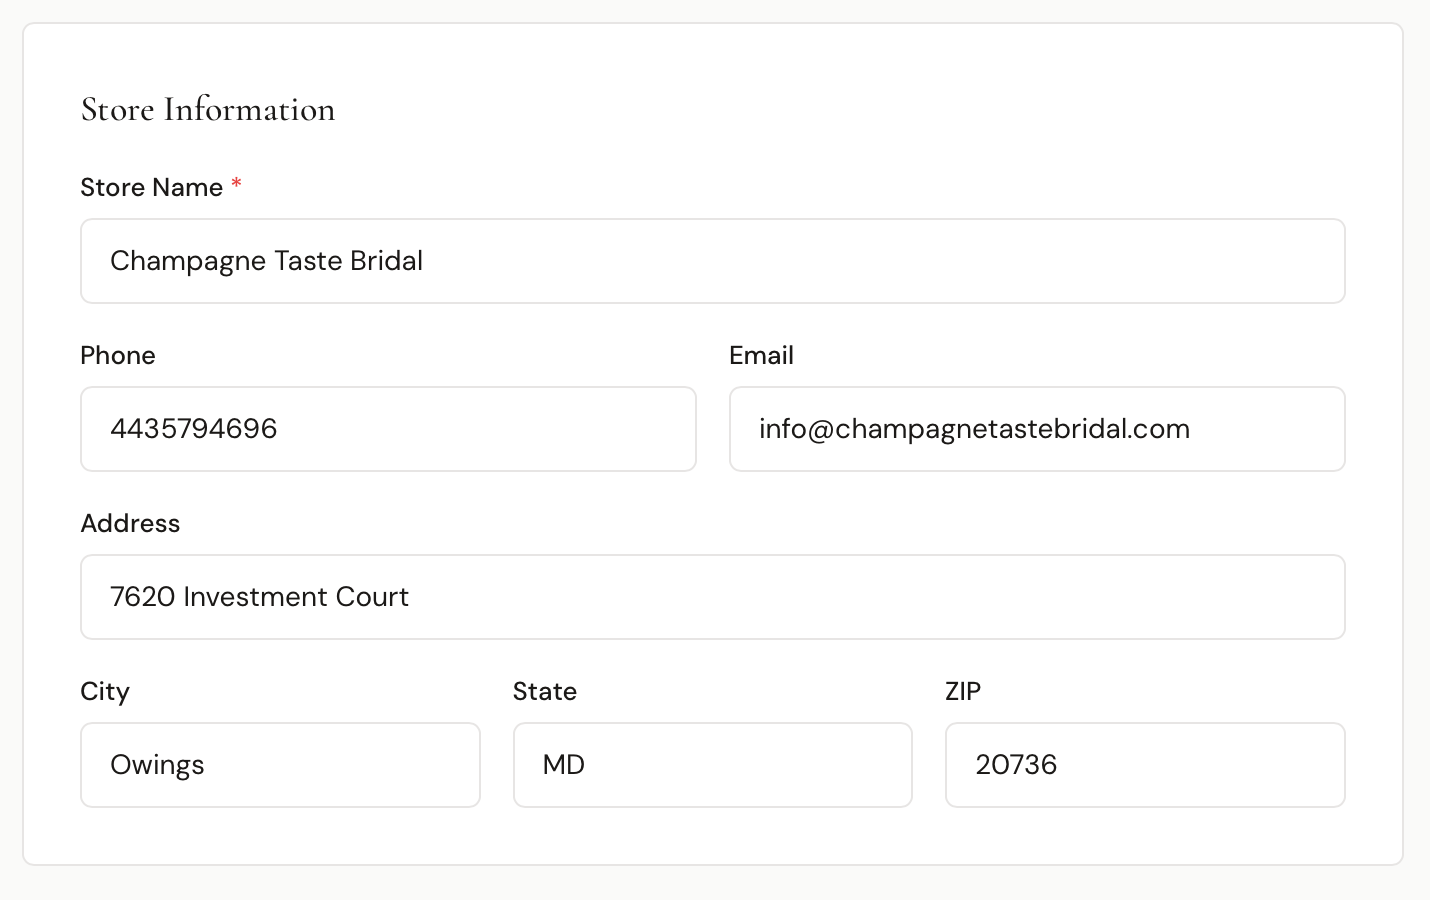
Enter your boutique's basic details:
- Store Name (required) — your boutique's name, shown throughout BridalOp and on customer-facing pages
- Phone — your main phone number
- Email — your store's contact email
- Address, City, State, ZIP — your physical location
Logo
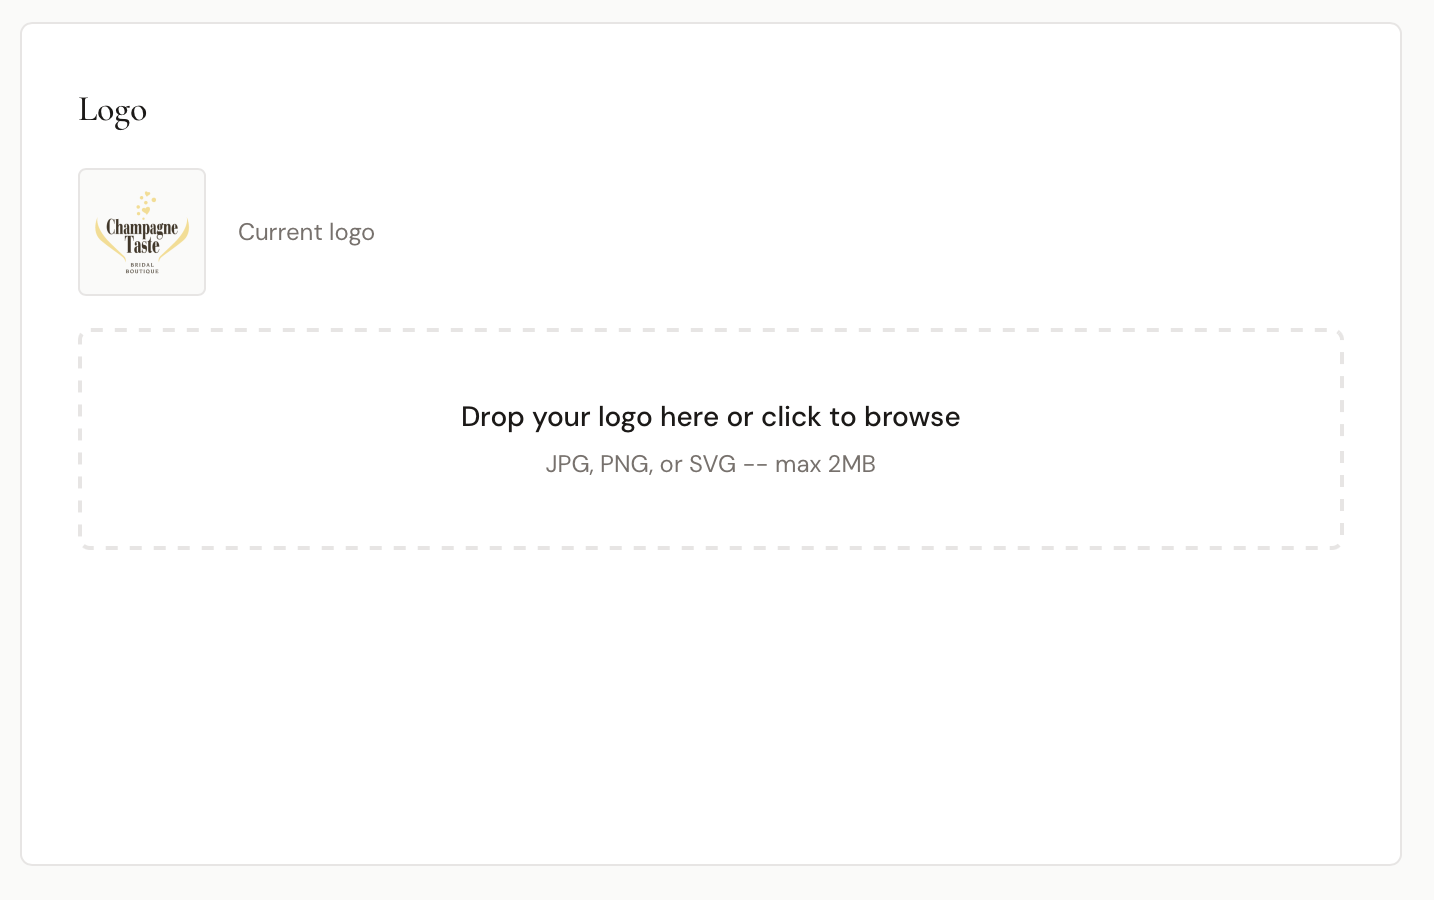
Upload your boutique's logo. It appears on:
- Customer-facing booking portal
- Gift card certificates
- Invitation emails
- PDF tickets and receipts
Drag and drop a file or click to browse. Accepted formats: JPG, PNG, or SVG — max 2MB. Your current logo is displayed above the upload area.
Booking Portal
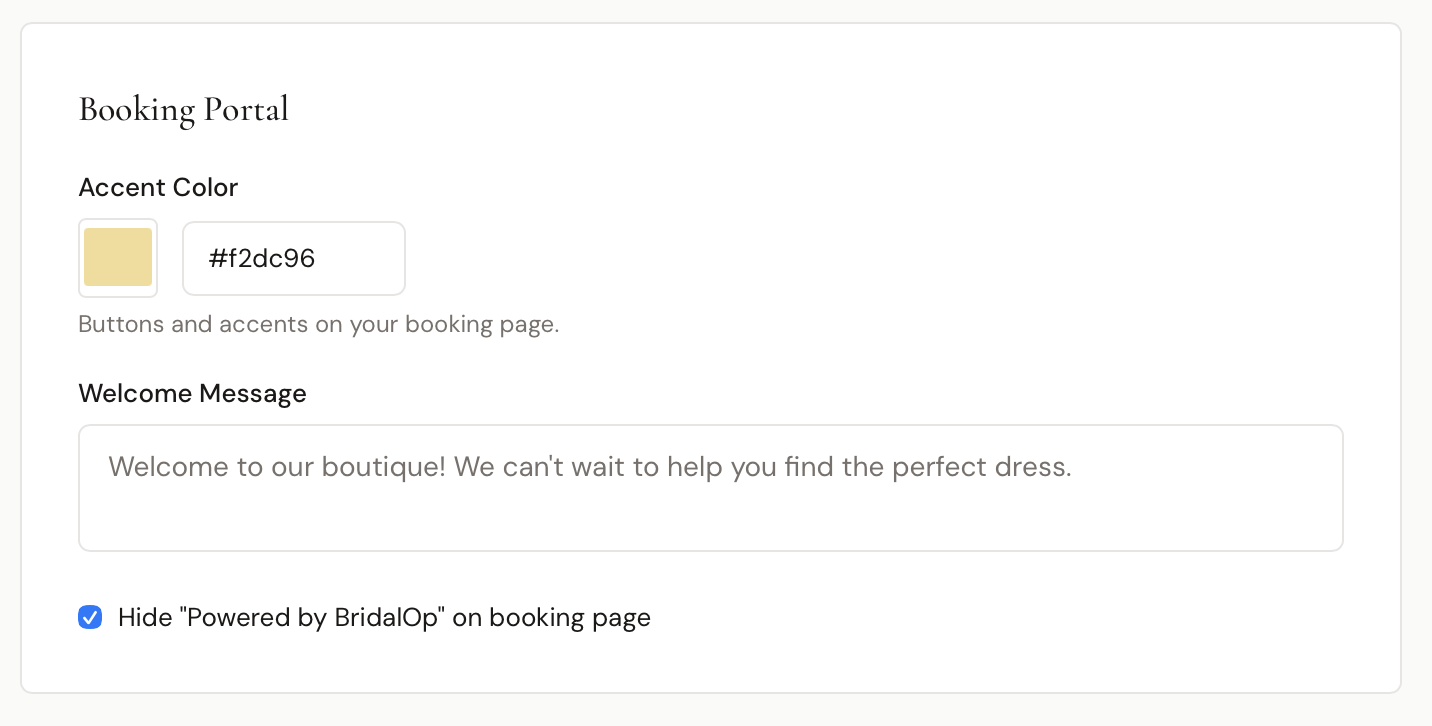
Customize the look and feel of your public booking and gift card pages:
- Accent Color — pick a color using the color picker or enter a hex code. This color is used for buttons and accents on your booking page.
- Welcome Message — a greeting shown at the top of your booking portal (e.g., "Welcome to our boutique! We can't wait to help you find the perfect dress.")
- Hide "Powered by BridalOp" — check this to remove the BridalOp branding from your booking page
Consignment
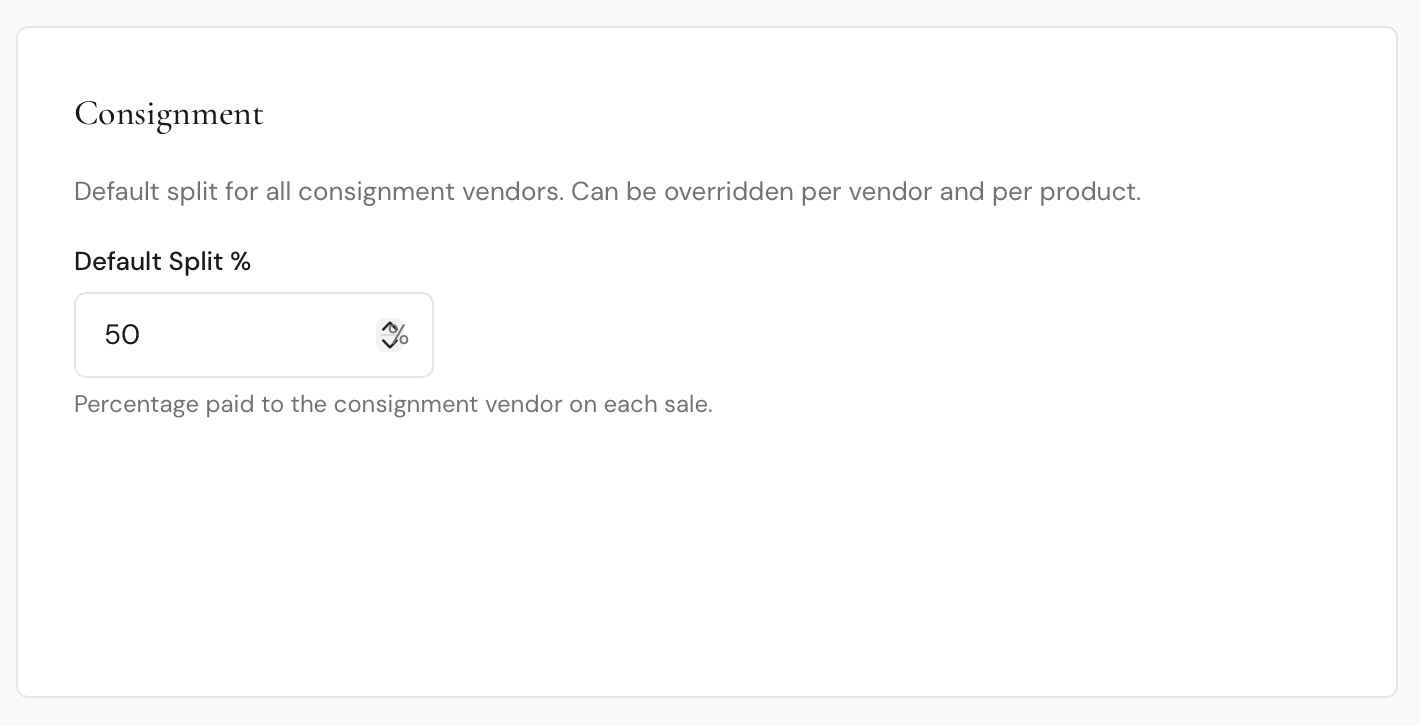
Set the default revenue split for consignment vendors:
- Default Split % — the percentage paid to the consignment vendor on each sale (e.g., 50%)
This is the default for all consignment vendors. It can be overridden per vendor and per product.
Business Hours
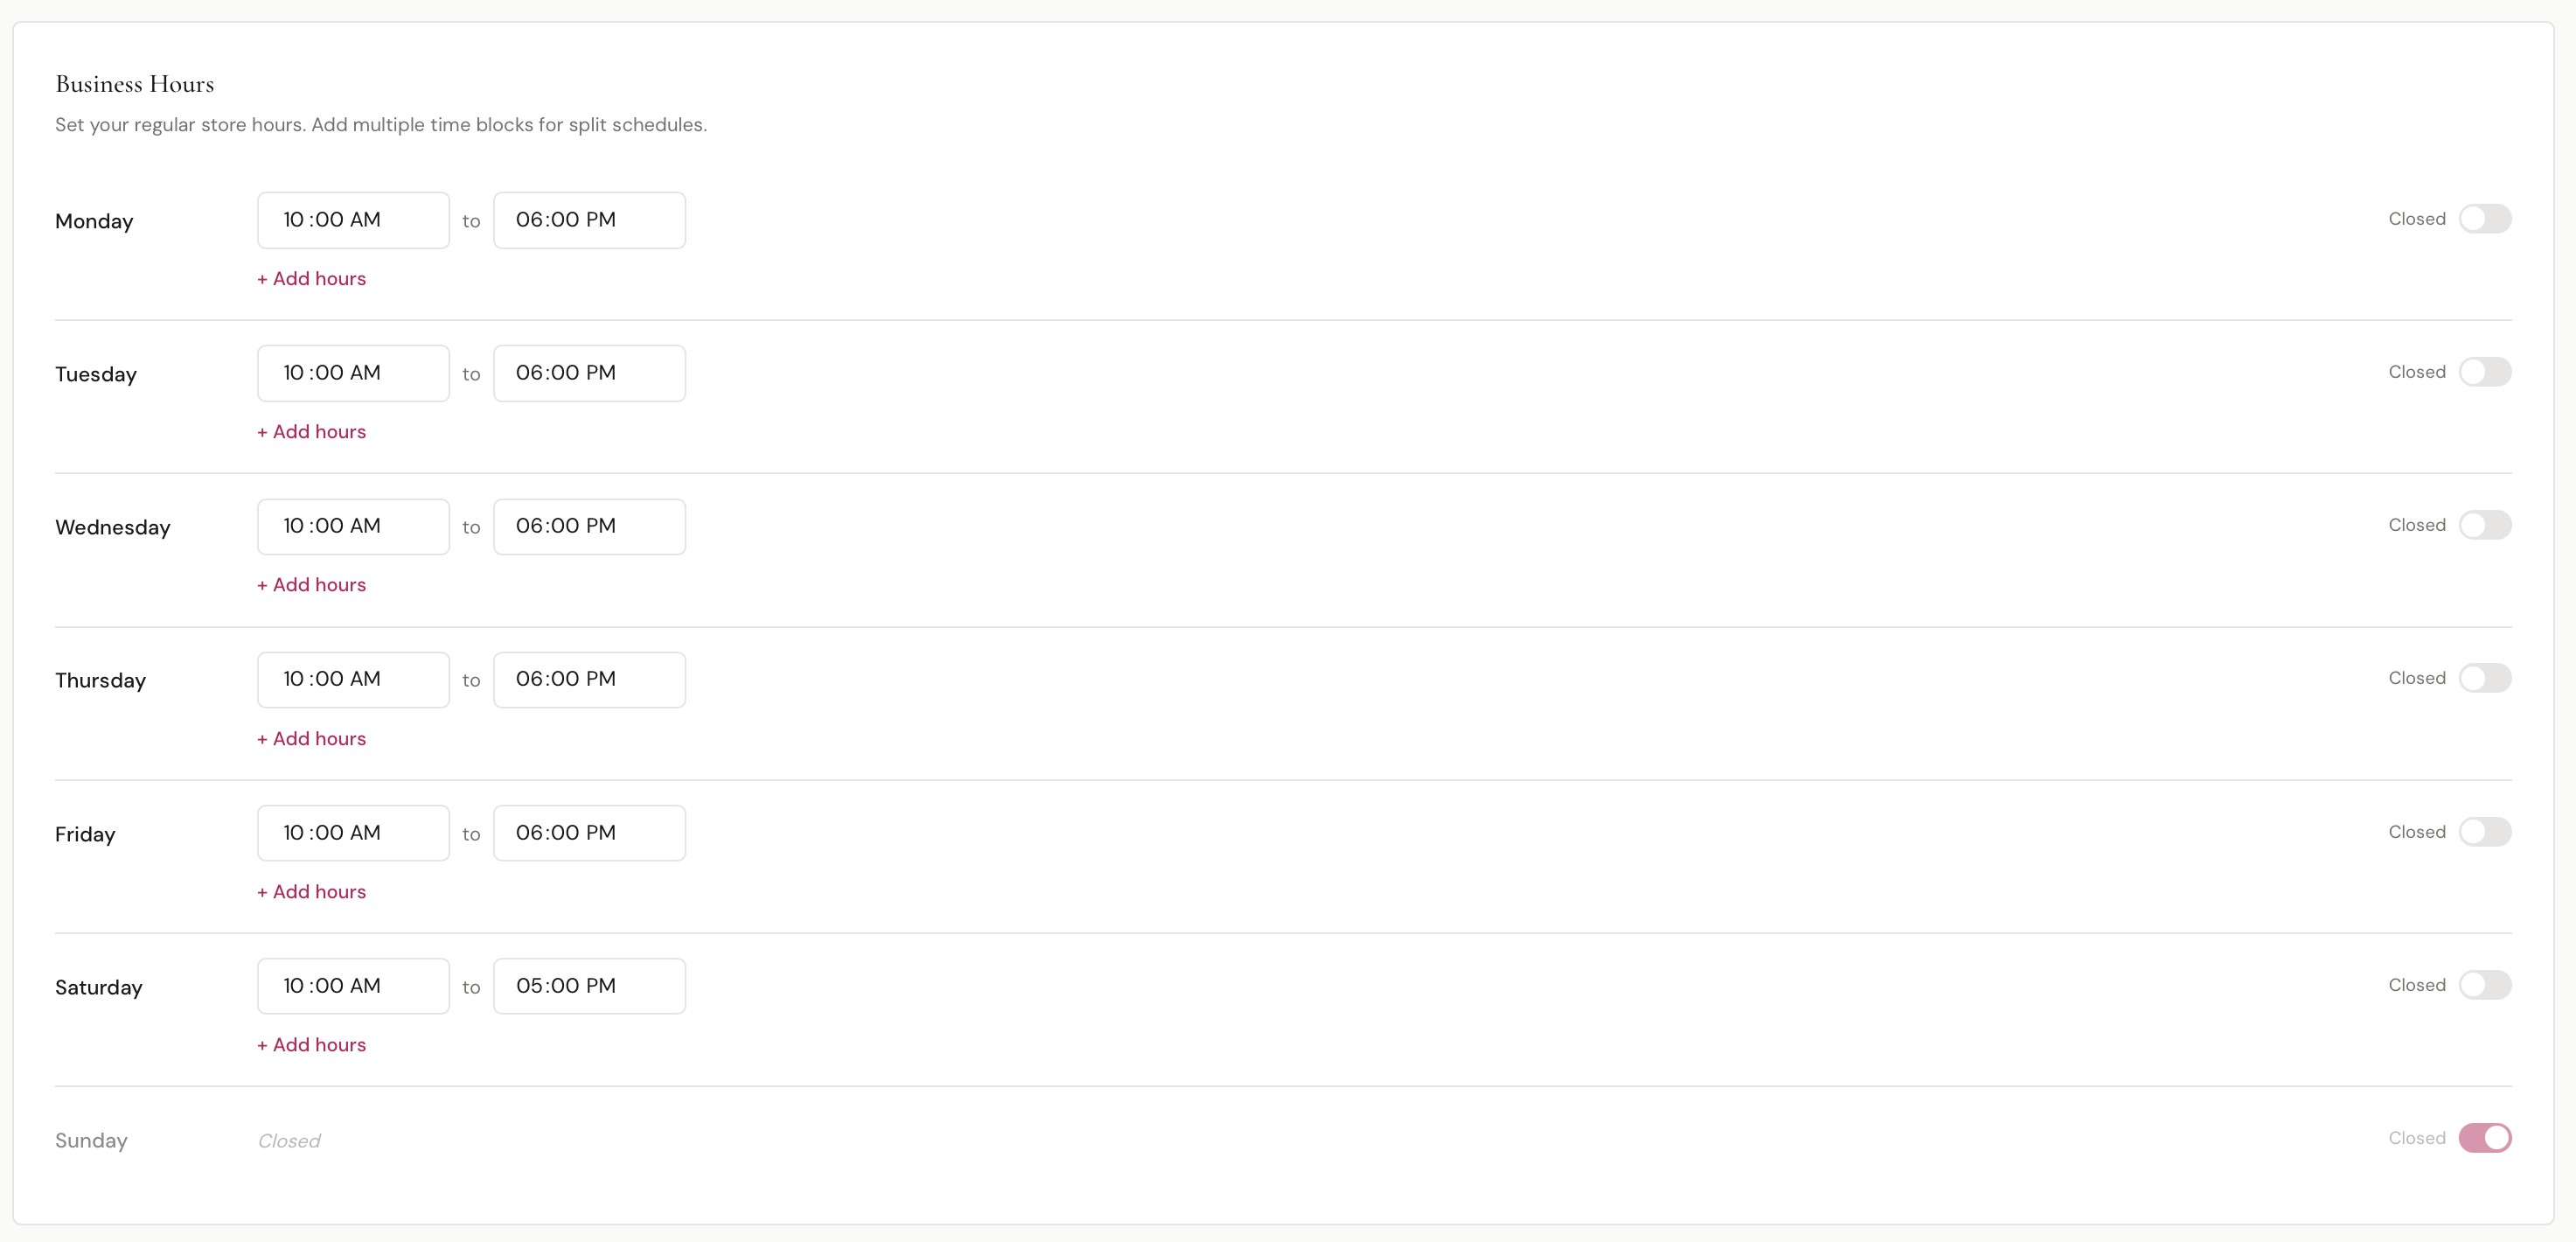
Set your regular store hours for each day of the week. These hours control which time slots are available for online booking.
For each day:
- Set an open and close time
- Click + Add hours to add a second time block (useful for split schedules, like closing for lunch)
- Toggle Closed to mark a day as closed (e.g., Sunday)
Holidays & Closures
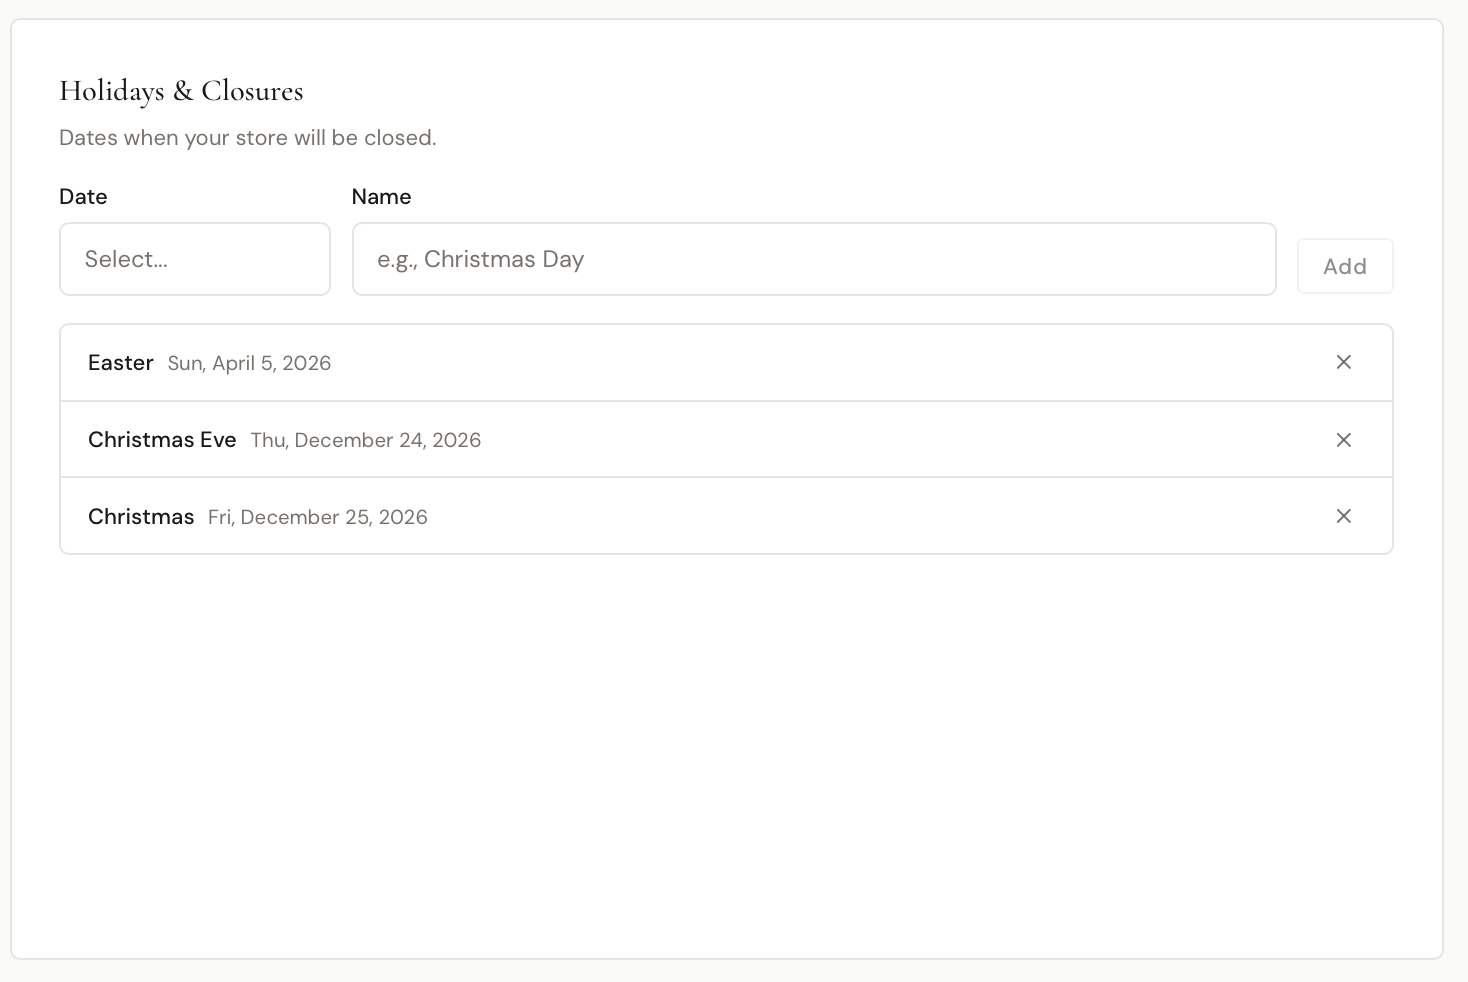
Add dates when your store will be closed. On these days, no appointment slots will be available for online booking.
To add a holiday:
- Select a Date
- Enter a Name (e.g., "Christmas Day")
- Click Add
Existing holidays are listed below with the day of the week and date. Click the X to remove one.
Notifications
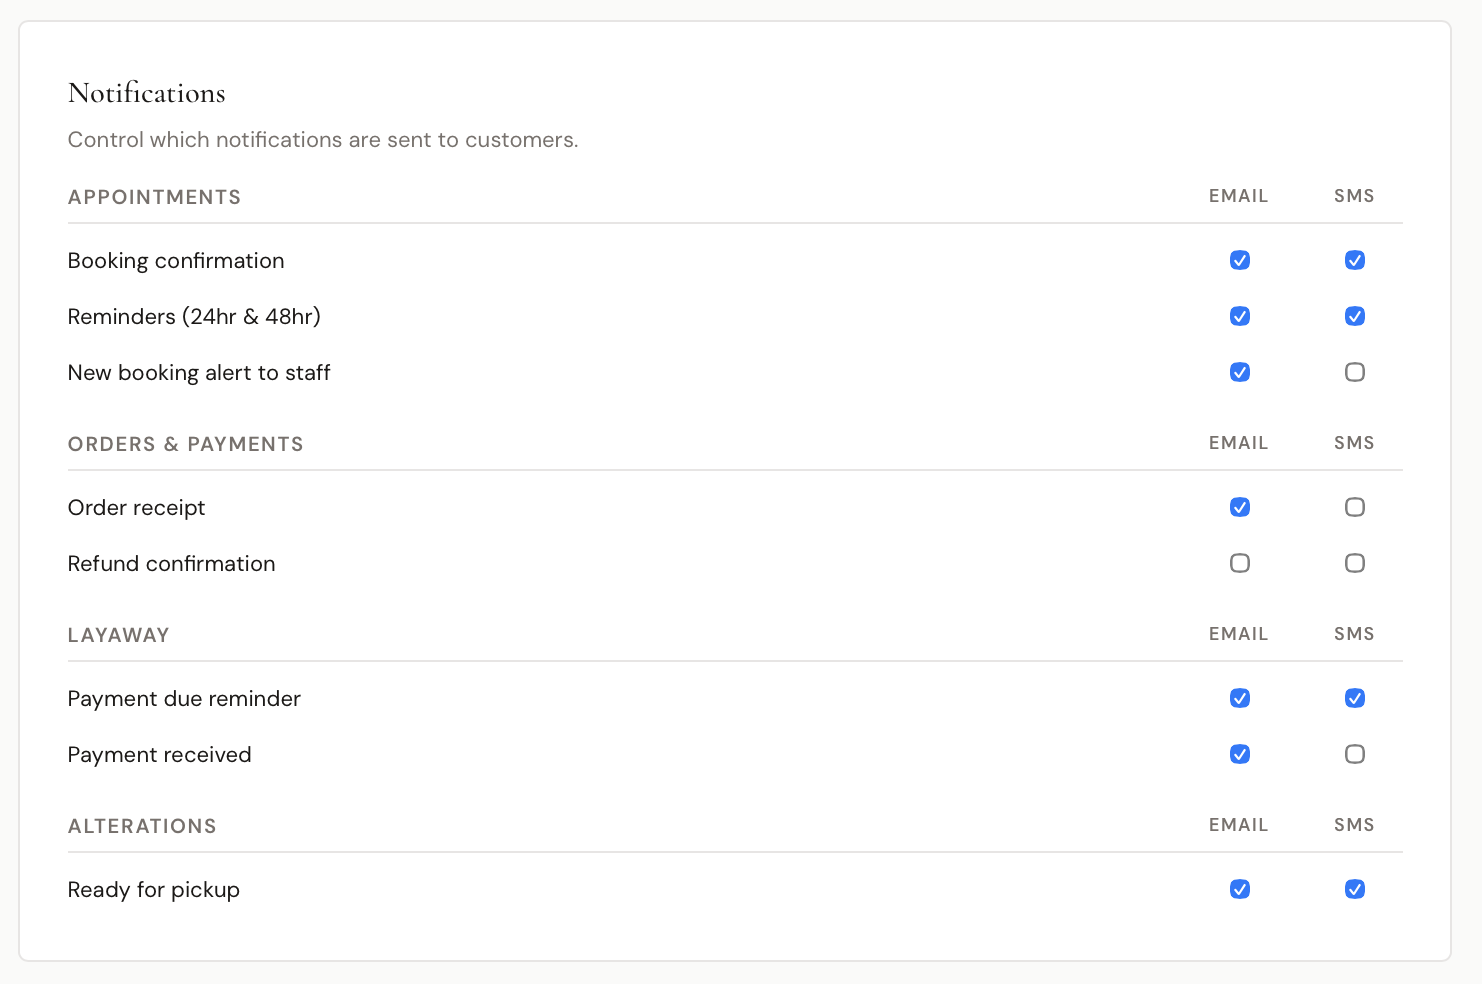
Control which automatic notifications are sent to customers. Each notification can be toggled independently for Email and SMS.
Appointments
| Notification | Description |
|---|---|
| Booking confirmation | Sent when an appointment is booked |
| Reminders (24hr & 48hr) | Sent before the appointment |
| New booking alert to staff | Notifies your team of new bookings |
Orders & Payments
| Notification | Description |
|---|---|
| Order receipt | Sent after a completed sale |
| Refund confirmation | Sent when a refund is processed |
Layaway
| Notification | Description |
|---|---|
| Payment due reminder | Sent when a layaway payment is coming due |
| Payment received | Sent after a layaway payment is made |
Alterations
| Notification | Description |
|---|---|
| Ready for pickup | Sent when alterations are marked as ready |
Review Requests
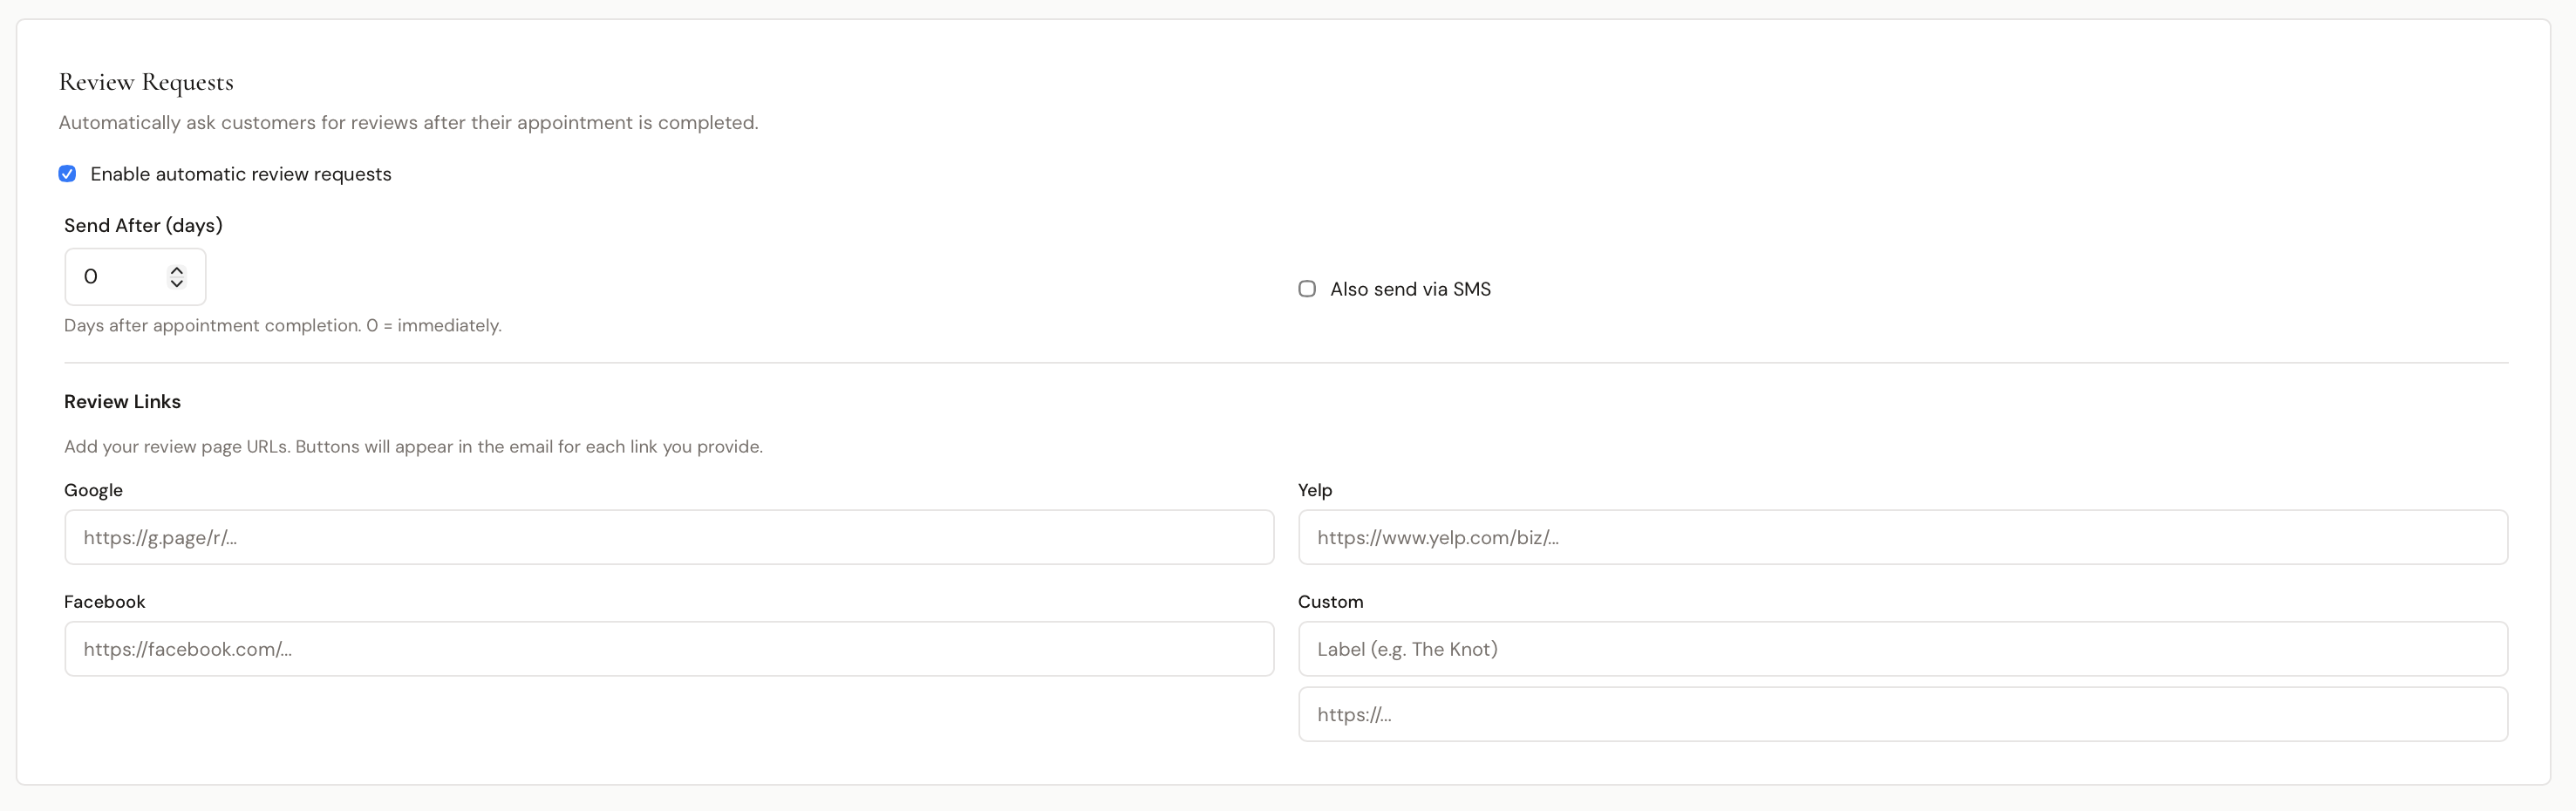
Automatically ask customers to leave a review after their appointment is completed.
- Enable automatic review requests — toggle on to activate
- Send After (days) — how many days after appointment completion to send the request (0 = immediately)
- Also send via SMS — check to send the review request by text in addition to email
Review Links
Add your review page URLs. Buttons for each link you provide will appear in the review request email.
- Google — your Google Business review link
- Yelp — your Yelp business page
- Facebook — your Facebook page
- Custom — any other review site (enter a label like "The Knot" and the URL)